Table of Contents
Summary
In this guide for architectural photographers, we will cover all aspects of architectural photography, including what equipment to use and the methods used by professional photographers. This guide will help you understand everything you need to know to become an accomplished architect or architectural photographer, whether you are just beginning or want to improve your existing skills, by providing you with information in a straightforward manner that is easy to read and understand.
Introduction
People often wonder how to photograph a beautiful building, and many of them have tried and still have not achieved the results they were hoping for. Don’t despair; you’re not at all alone! It may seem difficult at first to learn to photograph architecture, but with some practice and dedication, anyone can photograph buildings and structures in fantastic detail.
What is Architectural Photography?
In essence, architectural photography (AP) is the art of photographing environments that encompass man-made objects ie buildings & structures. Photography (AP) requires more than just pointing a camera and clicking it. A photographer of architectural photography (AP) takes the time to carefully capture a structure’s design(s), beauty and/or aesthetic, details, and character that tell its story.
Photography (AP) has a broad spectrum of uses, for example, to create real estate listings, architecture websites, portfolios, social media, historical documentation, and/or works of fine art. Regardless of what your intent is with AP, the primary goal is simple: to document the building in its best possible way whilst still being faithful to the emphasis of the architecture itself.
Essential Equipment You Need
The positive side is that you don’t need to spend thousands of dollars when getting started in architectural photography; what’s actually important is:
- Camera: Any brand new camera available (DSLR, mirrorless or good smartphone) fits within this category; however, the importance of understanding how to operate these cameras and optimally use their controls cannot be understated if you are going to purchase a camera just for taking photos of the outside of architecture; if so, look for cameras with manual capabilities available.
- Lenses: This is an area that you may want to invest slightly more money on because a wide-angle lens (approximately 16-35mm) is necessary to photograph buildings as they get larger and you may not have the ability to step back far enough to capture all of it in your image. Additionally, by using a wide-angle lens, you can increase the amount of building that records within the viewfinder, and this is a critical consideration in the photographing of large buildings, particularly when the building is located within tight confines.
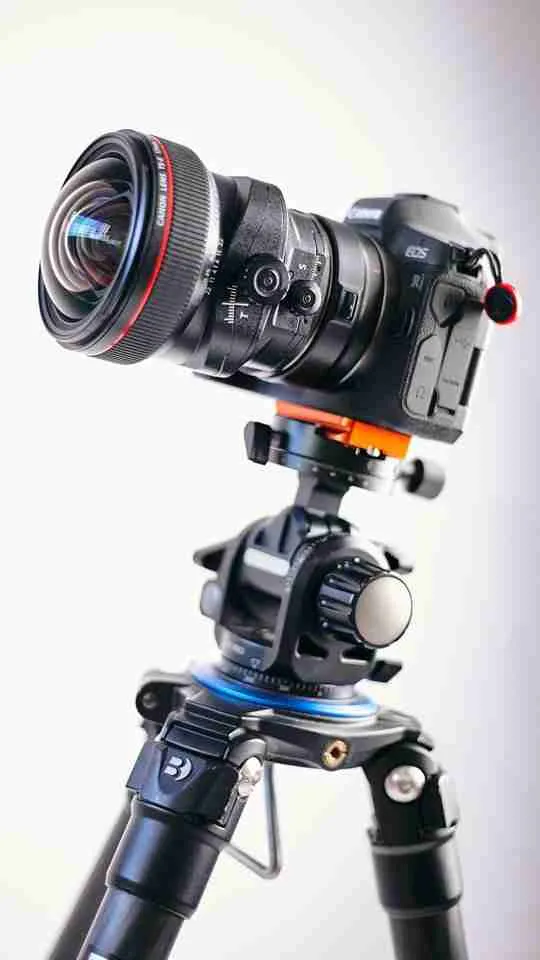
- Tripod: A tripod is a must for developing an interest in taking professional images of architecture; it will provide you with a stable structure to use to keep your camera stationary while capturing sharp, clean images. A tripod also enables you to position your camera properly and allows you to maintain straight lines when photographing your image.
Additional tiny tools that can act as a huge assist to architectural photography are a remote shutter release, which keeps your camera from moving while capturing an image, and a level tool or the level function available on your camera to avoid capturing images that appear to be “tilting.”
Camera Settings That Work
Transforming your Architectural Photography from amateur to professional level by understanding your camera settings. Learn the basics of setting your camera to manual mode so you can fully control it. When using an aperture between f/8 and f/11, you will achieve a “sweet spot” where everything will be in focus from front to back. To keep your files as clean as possible, it is essential to use a low ISO (100-400).
Use a tripod to enable yourself to take longer exposure times without any concern for camera shake due to slower shutter speeds. Always select RAW format if available on your camera, as this file format retains more image data than JPEG which gives you more options for editing your files later on.
Mastering Composition Techniques
The difference between a good architectural photograph and an exceptional architectural photograph is the way it is composed. Use these tips as a guide to improve the composition of your architectural photographs.
Use the rule of thirds to create balance and beauty to your architectural composition. By dividing your frame into nine equal parts using two horizontal and two vertical lines, you will have several opportunities to place the important elements of your photograph either along these lines or at the intersection of these lines, which makes for a beautiful and balanced composition.
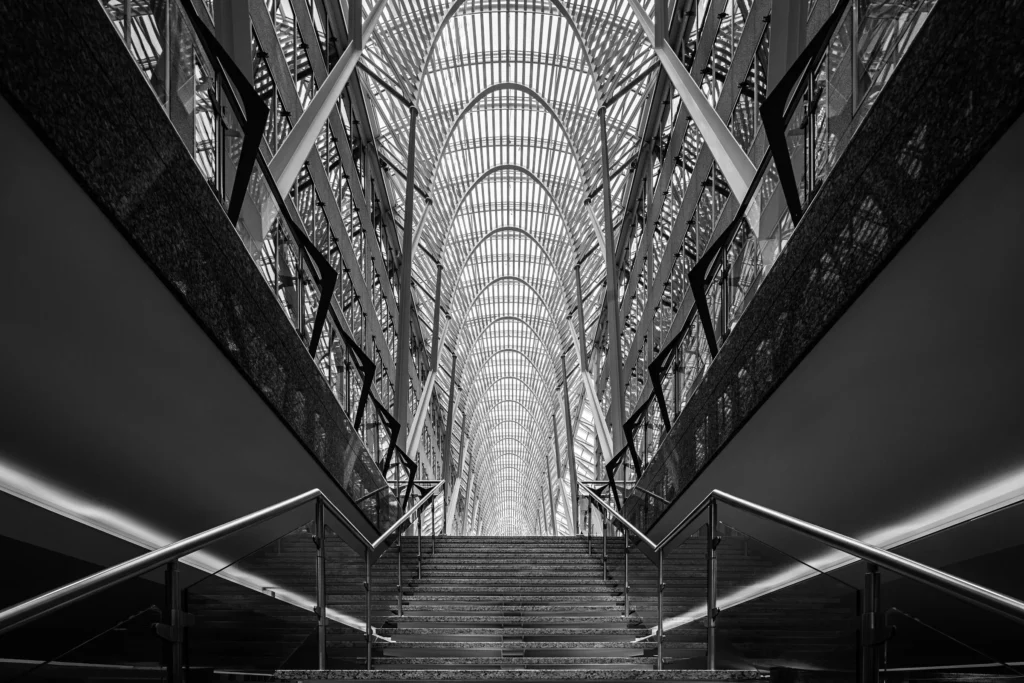
Find leading lines that will lead your viewer’s eye into the photograph. The lines of stairs, hallways, pathways, and building edges naturally draw the viewer into the photograph. You can use the leading lines of the building to create a sense of depth and interest within the architectural photograph.
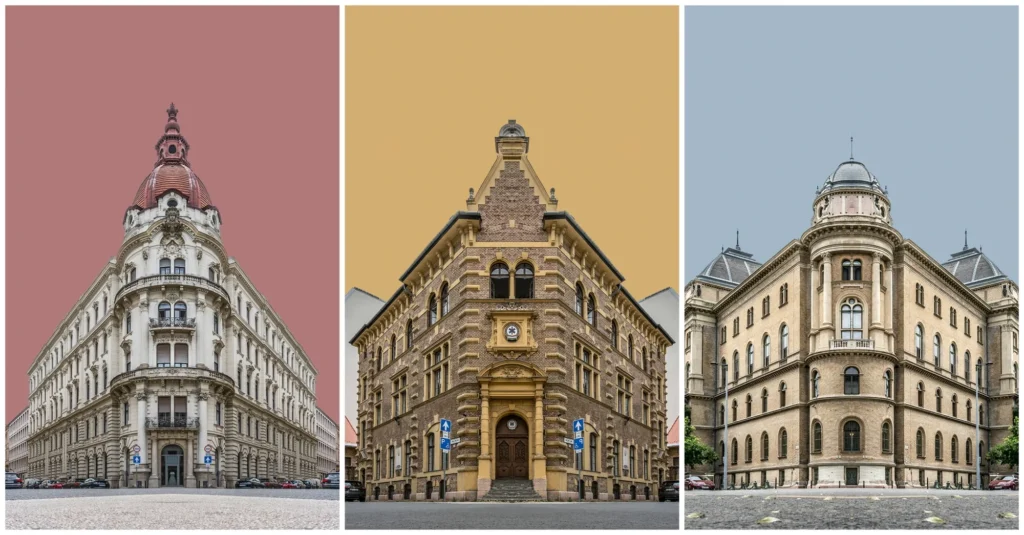
Embrace symmetry in the architecture that you photograph. Many buildings naturally create a balanced sense of symmetry. Make sure that you have located yourself directly in front and in the centre of the building. Photographs that are taken in a symmetrical manner have a more attractive and satisfying quality to them than photographs that do not have this quality.
Look for unique angles from which to shoot the building. Get down low to the ground for dramatic views of the building. Find vantage points above the ground to provide the viewer with a slightly different view of the building. Walk around the building to find the best possible angles for photographing the building.
Lighting Makes All the Difference
When it comes to architectural photography, it is essential to choose the right time of day to take the photograph. For example, the golden hour (the hour after sunrise and before sunset) is typically when buildings appear their best due to the warm and soft light that is present during those times. The blue hour is the hour before sunrise and after sunset, during which time beautiful dramatic images can be captured of structures lit up at night.
Whenever possible, avoid taking photographs in direct sunlight, particularly during the time of day when the overhead sun creates harsh shadows and washes out details. If you find yourself needing to take a photograph during the day in direct sunlight, look for cloudy days when the clouds function as a natural softbox, diffusing the sunlight evenly over the subject.
For those taking interior architectural photographs, make sure to make use of natural light from your windows if possible. To ensure that you have balanced exposure throughout the room you should also turn on all of the room’s light fixtures. On occasion you may need to take multiple images of a room at various exposures and combine them together using a process called HDR Photography (High Dynamic Range Photography).
Solving Common Problems
With tall buildings, your camera’s vertical lines appear to lean towards one another, creating a “leaning” effect called perspective distortion. To correct this, either take more distance from the building, keep your camera level with the horizon, or use post-processing software to correct the problem.
- The glass facades of many modern buildings present additional challenges when taking photographs because of the numerous reflections that they can create. To minimize such reflections, try shooting on an overcast day, or use a polarizing filter when shooting. Remember that reflections can also add visual interest to your composition.
- When taking photographs inside buildings or photographing buildings located in busy urban areas, you may find that there is often not enough room to step back far enough to take an acceptable photograph. In such situations, it can be particularly beneficial to have a wide angle lens. Shooting from the corners of a room can also help create a sense of space in your photographs.
Common distractions such as power lines, buses and other vehicles, trash cans, and people can detract from architectural photographs. You can either wait for distractions to be gone or shoot during times of the day when streets and sidewalks are less crowded. In some instances, you can edit out the distracting elements from your photograph after taking it.
Interior Photography Special Tips
When taking interior architectural photos, you will have to approach them in a different manner than exterior shots. First, you want to prepare the space for shooting – this means decluttering, aligning furniture correctly, and opening any curtains or blinds. Additionally, it is best practice to have all lights on to bring warmth into the room and also help balance the natural light flooding in through the windows.
When shooting, try to always take photos from the corners of the rooms to maximize what is able to fit in the image. The camera should remain at chest height so we can maintain a natural viewpoint, creating a more home-like feeling. You should also pay attention to small detail items such as the light fixtures, tile designs, and any of the architectural features in the area to really highlight what makes this specific space unique.
Exterior Photography Techniques
Think about how the building fits within its environment when planning to take pictures of the exterior. Including trees, streets or buildings in the shot sometimes provides additional context, while at other times a more reduced format that emphasizes only the architecture will have greater impact. Plan to visit the location beforehand, and consider how different times of day change how the light interacts with the building. Look for potential obstructions and develop a plan for where to shoot.
With tall buildings, you may want to get across the street and look for elevated positions to get a better angle. Night time offers opportunities to uniquely depict architecture; illuminated buildings create stunning contrasts against dark blues or blacks. Use a tripod, longer exposure times and different white balance settings to capture the mood of each shot.
Basic Photo Editing
All photographers edit their photos – whether you’re working with film or digital images. The first step to improving your photos is to take care of basic edits:
- Correct verticals using the perspective correction functions in Photoshop, adjust your exposure to reveal more details, and increase your contrast to give more dimension to your photo.
- Avoid excessive processing. Your goal is to have the image look great like it did when you took it. You want it to look realistic as well, so don’t use extreme filters; subtle changes will yield better results.
Eliminate distractions in your images, such as litter or unwarranted people walking through your shot. Finally, give your photo that final touch of professionalism by slightly sharpening your images, but be careful not to overdo this as well.
Legal Considerations
Acknowledge property rights at all times. Buildings owned by the government can typically be pictured as long as they can be viewed from a public area. Buildings owned by individuals or organizations must have the owner’s consent before any photographic use can occur. Certain structures may prohibit photographs from being taken for reasons of copyright laws and/or safety issues.
When taking commercial photos (i.e. photos being sold or used in ads), it’s very important to check the laws for where you’re taking the photos. Each country or area may have different regulations regarding commercial architectural photography.
Conclusion
Architectural photography is one of the most satisfying forms of artistic endeavour, combining creative vision with technical expertise. You now understand the basic elements to make great images of buildings; there was a time when every professional photographer was an amateur, and the path to becoming proficient includes continued practice, patience, and perseverance.
Early images may seem disappointing, but they are actually opportunities to learn about composition, lighting, and perspective. The great thing about architectural photography is that it is available to everyone; there are so many great-looking buildings all around us.
Whether your project calls for real estate photos, commercial shoots or developing an architectural portfolio, photophactorystudios can provide you with all of the necessary professional architectural photo services, including guidance on how to approach your project.